
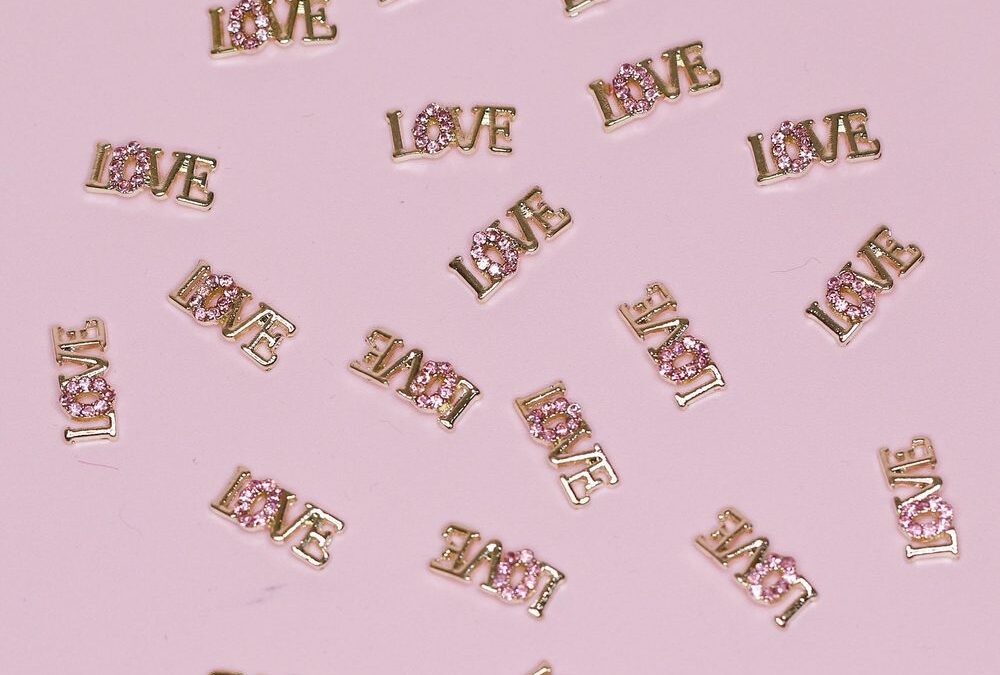
Start with an angle technicians rarely hear: the charm itself dictates the embed depth. This set is a small gold word-style design with the letter O clustered with light pink/purple micro-rhinestones, and that purple‑accented cluster changes how you handle placement and curing. Teach your team to treat the charm as a three‑dimensional object, not a flat decal.
Prep And Layout
Explain the workspace setup first. Work on a tidy station with good magnification and a clean tray to keep 20 identical gold word charms organized. Use a soft, non‑slip mat to prevent scratching the polished metal. Sanitize hands and tools between clients; these charms are decorative items that contact natural nail and enhancement surfaces.
- Inspect each charm under light: check rhinestone cluster integrity and metal finish.
- Dry‑fit on a nail form or press sample to show exact placement and scale.
- Assign roles—one tech preps the enhancement (acrylic or gel), another positions and secures the charm for the first client or for training demos.
Placement Principles
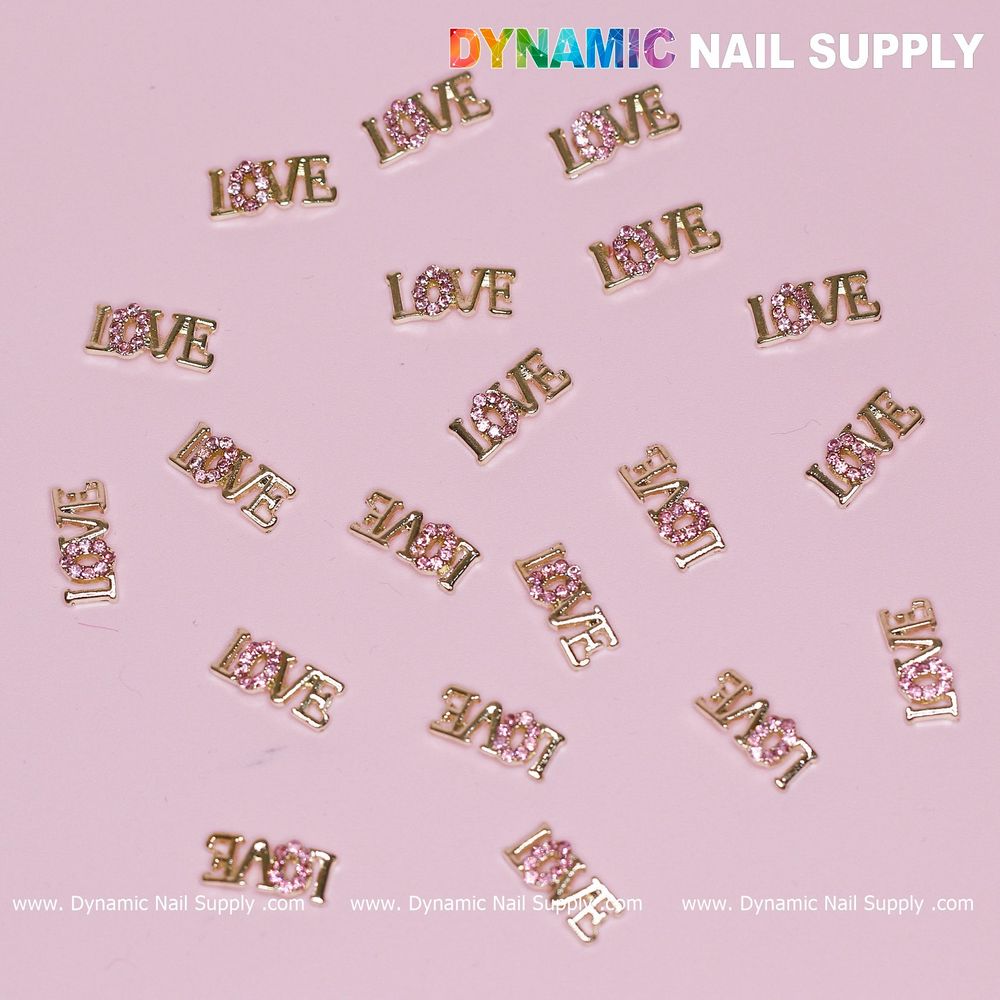
Train staff to consider three vectors: lateral position (left/right on the nail), proximal depth (how close to the cuticle), and elevation (how much of the charm sits proud). For the gold word charm with a rhinestone O, the visual weight concentrates at the O; use that as your anchor point.
- Position: prefer the ring or middle finger for single‑accent looks; center the word along the nail’s longitudinal axis for balance.
- Proximal rule: leave a minimum 1.5–2 mm gap from the cuticle to avoid lifting from natural nail growth.
- Elevation control: plan for partial embedding so the metal edge sits flush with the top gel or acrylic layer while the rhinestone cluster remains visible and sparkly.
Embedding In Gel
Teach a step sequence that teams can memorize. Use builder gel or a medium-viscosity gel to secure and encapsulate without drowning rhinestones.
- Base: apply a full-coverage base layer and cure as directed to create a stable platform.
- Anchor bead: apply a small bead of tacky builder gel where the charm will sit; do not cure yet if using a no‑wipe system—keep tack stage predictable.
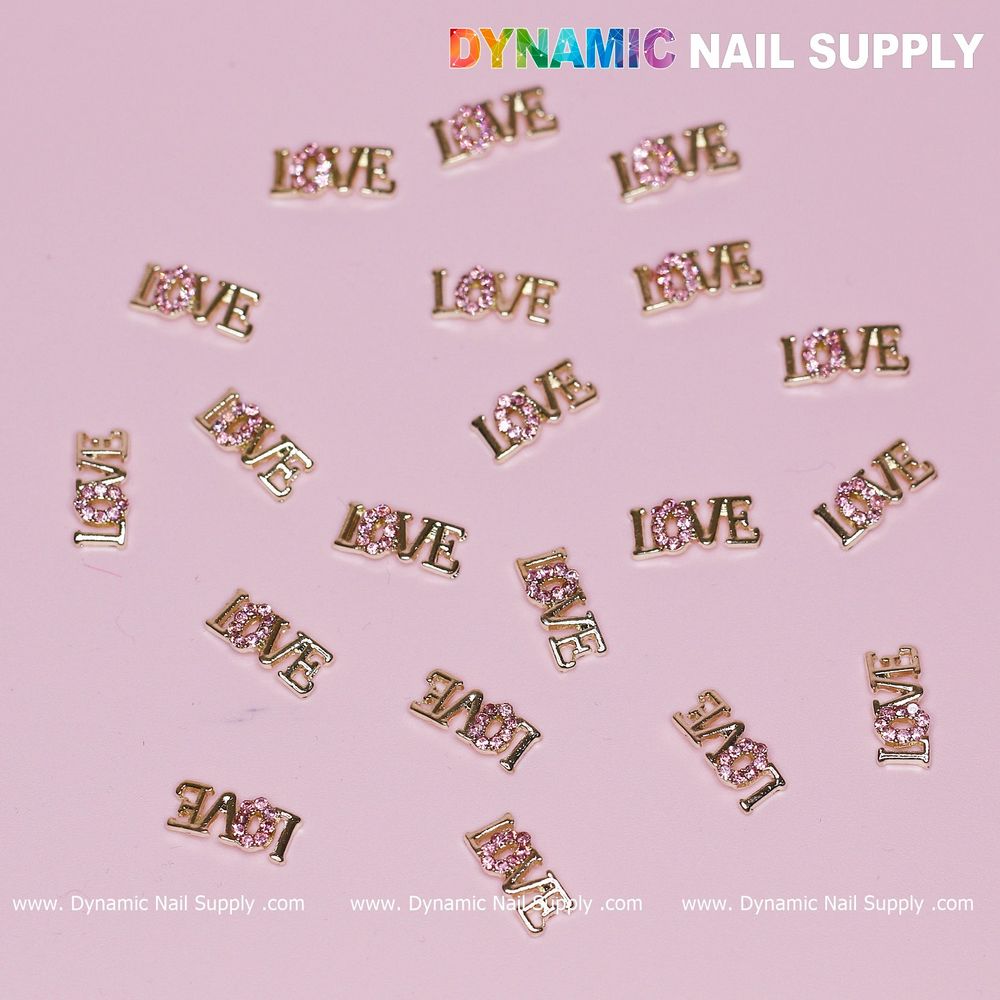
- Set: using a sterile angled tweezer or wax pencil, place the gold word charm so the rhinestone O aligns with the nail’s focal point. Press gently into the uncured bead until the metal edge becomes partially embedded.
- Lock cure: cure with the lamp following the builder gel’s recommended time to secure the metal body. After curing, add a thin sealing layer of gel over and beside the charm edge—avoid covering the rhinestone cluster completely; leave micro‑facets exposed for sparkle.
- Finish: apply a thin final layer of topcoat around the charm, feathering to blend. Cure and wipe only if required by your product; if the topcoat risks dulling rhinestones, use a clear gloss gel sparingly adjacent to the cluster.
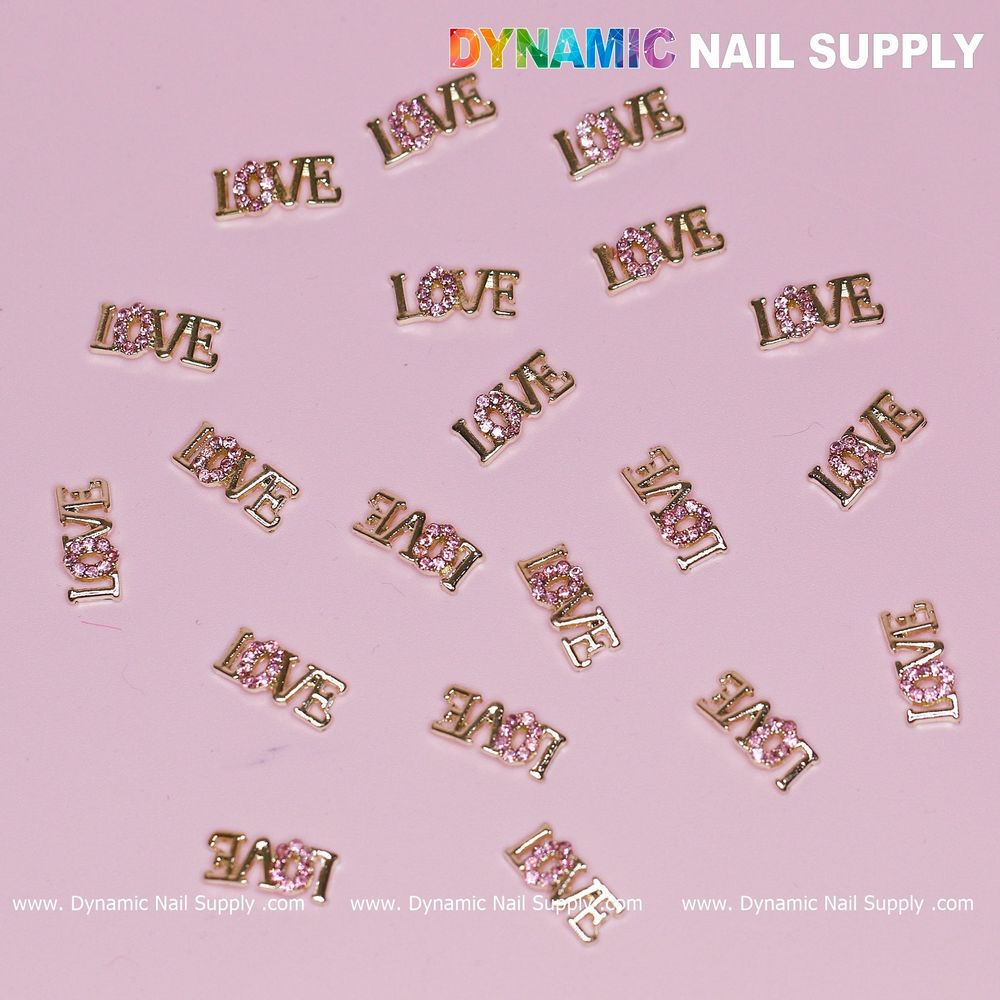
Point out common errors: embedding too shallow leaves edges that snag; embedding too deep hides the rhinestones and creates stress at the metal edge, which can cause lifting.
Embedding In Acrylic
Acrylic requires a slightly different tactile approach because monomer softens rather than sets via light. Emphasize timing and humidity control in the room.
- Structure: build the apex and thickness with acrylic where you want the charm to sit. Allow the bead to reach a tacky, moldable stage—too wet and the charm will sink; too dry and it won’t seat flush.
- Seat the charm: press the gold word into the tacky acrylic and support the charm until the acrylic firms. Ensure the rhinestone cluster remains exposed; tilt pressure toward the metal outline, not the stones.
- Blend: apply a small overlay bead of acrylic around the metal edges—feather the product so the metal meets acrylic with a smooth transition. Avoid opaque overlay across the rhinestones.
- Finish filing: file gently around the charm to remove any high spots. Use an ultra‑soft buffer to polish the acrylic up to the metal without scratching the gold finish or dislodging stones.
Adhesion And Curing Notes
Teach the logic behind each adhesive choice. For gel, the anchor bead and cured overlay provide mechanical lock. For acrylic, physical encapsulation and bead timing create retention. Remind staff to always monitor the rhinestone cluster: solvent‑heavy products and aggressive buffing can dull facet edges.
- Use minimal primer or bond agent directly under metal to avoid staining the gold finish.
- For mixed‑tech sets (acrylic plus gel topcoat), fully cure or set the base material before switching systems.
Troubleshooting
Prepare technicians for common issues and corrective steps.
- Lift at perimeter: add a thin overlay feather and re‑seal with a gel topcoat.
- Stone loss: replace only if accessible; if embedded and inaccessible, remove the charm and reset a new one—do not attempt to glue a loose micro‑rhinestone back in place on the client’s nail.
- Uneven sit: gently remove and reposition during the uncured/tacky stage; do not force reposition after a full cure without removing entire enhancement.
Best For
- Romantic or pastel manicures that need a delicate metallic accent.
- Single‑accent ring finger looks where the rhinestone O becomes the focal point.
- Bridal or date‑night sets requiring subtle sparkle without heavy bulk.
Not Ideal For
- Clients who use hands heavily in abrasive environments; small metal edges can catch.
- Very short nails where the word charm would overhang the free edge.
- Full encapsulation styles that would fully cover the rhinestone cluster and mute the sparkle.
Safety And Handling
These charms contain small components. Keep them out of reach of children and avoid inhalation when handling micro pieces. When filing or buffing near metal, use eye protection and a dust extractor to reduce particulate exposure.
End your training demonstration by letting trainees practice a full set while you observe placement rhythm and curing sequence. If you want to include this specific purple‑accented word charm in your service menu, consider providing a demo card for clients showing the finished placement and the scripted embed steps so every tech in the salon follows the same method.
For teaching purposes, include a practice tray with the Cute Love Letter Charms so trainees can rehearse placement and embed steps with the actual item Cute Love Letter Charms.